Friday, May 20, 2016

Calculating Volumetrics

Introduction:

Aggregate processing operations in Wisconsin are under strict legislation, regarding where water flows, and dust travels, in order minimize their ecologic impact. These operations are also required by the DNR to record the volume of material on their site each month. These volumetric calculations are often performed using rudimentary methods. For example, there has been speculation that some mine operators perform their estimations based on the relative size of the pile to the surveyor's thumb from a specific distance. Other methods require the operator to walk around the base of the pile, estimating the volume of the pile based on the number of steps taken around it. Some mine operators use laser range finders to record the height, width, and depth of their piles, for specific calculations they've developed. These methods are not only extremely time-consuming, but it is also difficult to detect the error incurred by using these methods.

By using UAS, the calculation of aggregate volumes can be performed faster and more accurately than through the manual survey methods. If permanent GCPs are installed at the mine site, the entire survey could be performed in less than 30 minutes, and the volume measurements could be obtained within a day of the flight.


Methods:

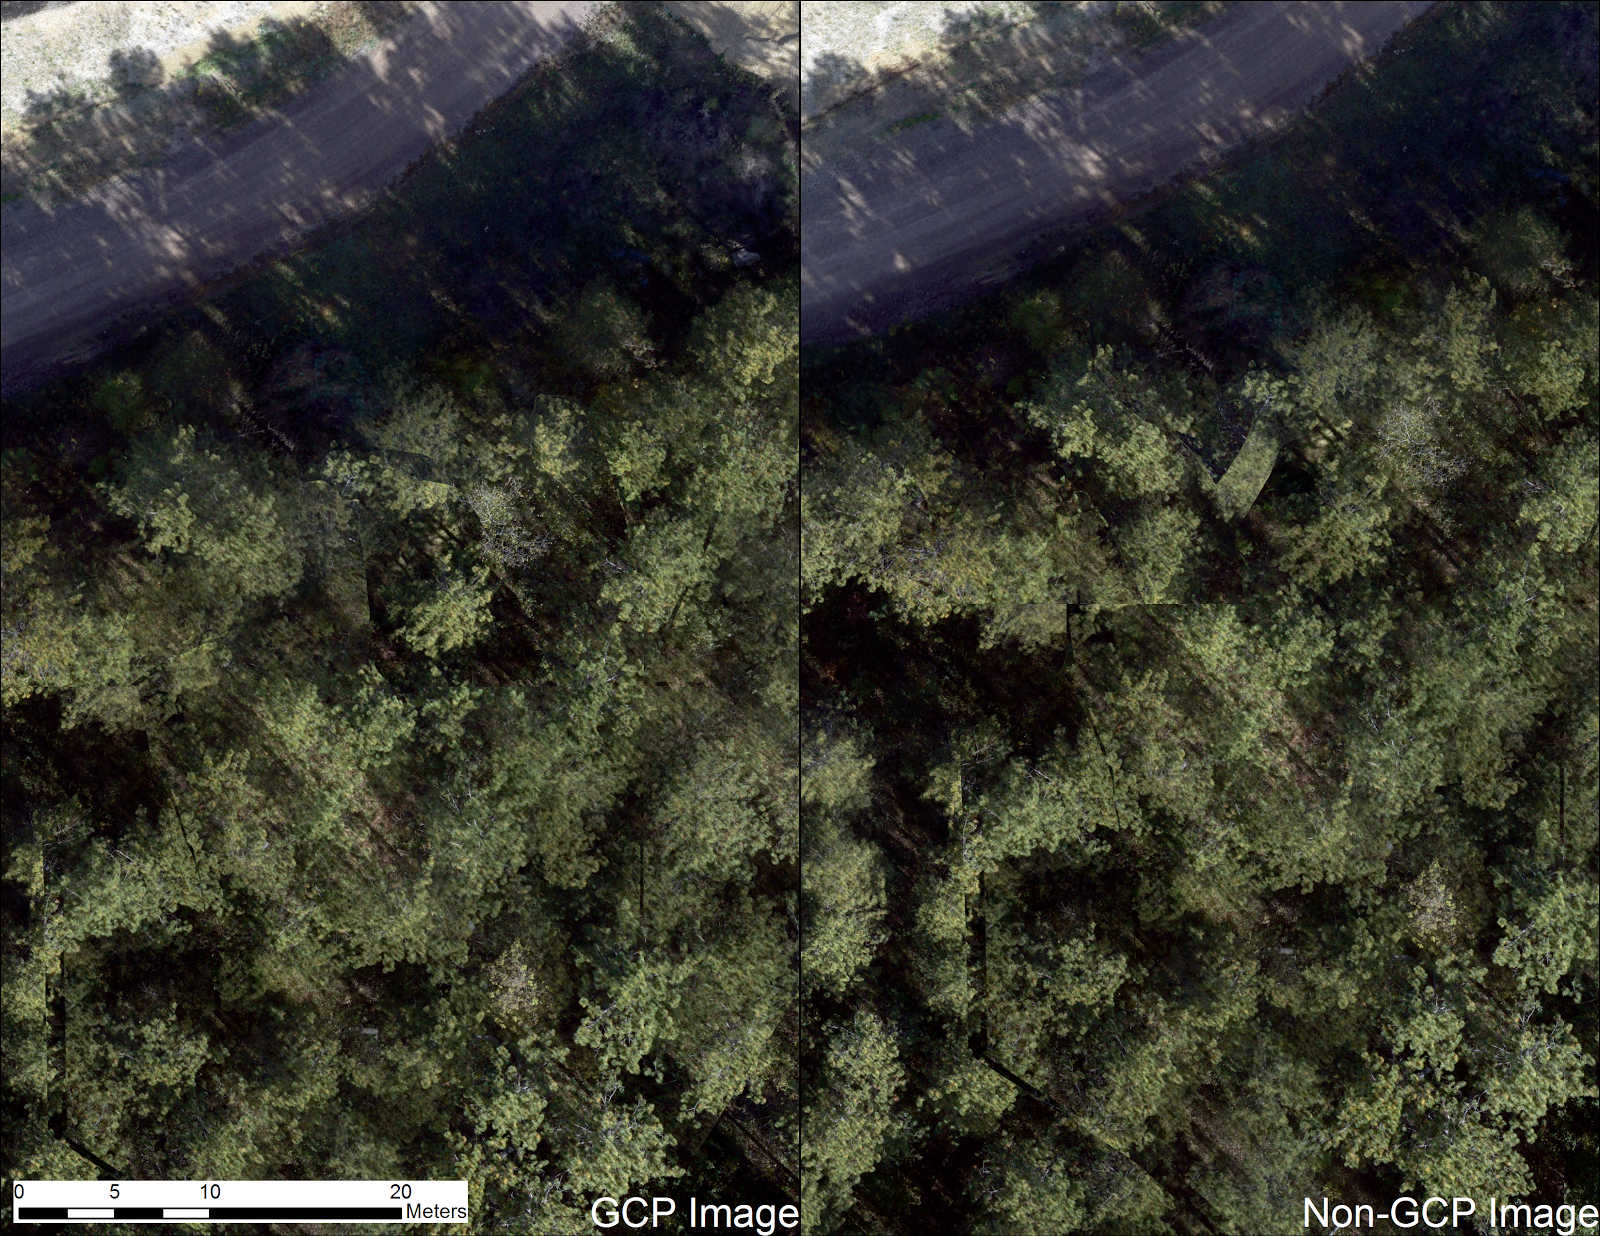
Data from three separate UAS flights were used for the volumetric calculations: on October 10th, 2015,  March 14th, 2016, and May 2nd 2016. Three piles were chosen for the volumetric calculations based on changes detected in their appearance between flights. The edges of the piles were digitized, however, the digitized lines follow the edges loosely, to reduce the overall error in the calculations.

The volumes were calculated using the following workflow. First, the pile edge polygons were buffered by 5m. Second, the DSM of each image was clipped to the boundary of each buffered pile. Next, the clipped rasters' cells were converted to points using the 'raster to point' tool in the ArcGIS conversion toolbox. The cells within the piles were eliminated using the 'erase' tool and the digitized polygons as the erasing features. The ground surface below the pile was then estimated using 'IDW' interpolation using the remaining points as the input feature class, and the clipped raster to set the 'Cellsize', 'Extent', and 'Snap Raster' tool environments. Once the surface was interpolated, the 'Cut Fill' tool was used to calculate the volume of each pile.

The volumes of each pile were recorded for each time period for which they could be calculated. The third pile's volume could only be calculated for the first two flights, as it was not fully covered by the third flight.

Results:

Pile 1 only changed by 2.3% of its total volume between the first and second flights, and this change could be entirely due to subtle differences in how the data were processed, accuracy of the gcps, etc. It saw a 138% increase between flights two and three (Figures 1-3).
Figure 1: The volumes for each pile from each flight.
Figure 2: The volumes per pile, graphed 

Figure 3: Pile 1 had very minimal changes (2.3% increase) between the first and second flights, but
saw an extremely large increase (138%) between the second and third flights.

Pile two was greatly reduced in size (42% decrease) between the first and second flights, and again (26.9% decrease) between the second and third flights (Figures 2 & 4).

Figure 4: Pile 2 was severely reduced between the first and second flights.
Pile three was reduced in size by 46.54% between flights one and two. The reduction of 1,947 m^2 was the largest single volumetric decrease based on these calculations (Figures 2&5).

Figure 5: Pile 3 saw a 46.54% reduction in volume between flights one and two. The removal of the material also
likely affected the drainage patterns of the site, potentially causing more water to collect in new basins.

The accuracy of these calculations cannot truly be determined at this point because only one volumetric method was undertaken. However, if additional methods were compared in the future, the accuracy of the individual methods could certainly be investigated.

Conclusions:

A white paper comparing the accuracy of LiDAR to UAS imagery processed using Pix4D was published several years ago, and their findings claimed the difference in accuracy between the two methods was less than 1%. The volumetric calculations performed for this lab could very easily be automated, potentially allowing the volumetric processing to be completed less than five hours from the imagery being captured (three hours allotted for Pix4D processing and one hour for volumetric change calculations). By calculating volumetrics using UAS, aggregate operations will save man-hours and have a more accurate idea of exactly how much material is distributed within their operations.

In the future, it may be prudent for aggregate operations to have flow models re-calculated when new volumetric flights are processed, as drainage networks are constantly changing. As the penalties for material escaping the mine are high, temporally and spatially accurate flow models may be extremely helpful for preventing such situations from occurring.

Monday, May 16, 2016

Point Cloud Classification & Hydrologic Modeling

Introduction:

Aggregate processing operations in Wisconsin are under strict permits, requiring all storm water to be internally drained. These measures are to ensure no fine sediment-laden water enters Wisconsin's waterways from the mine sites. If the sediment were to enter streams, it would damage habitat for numerous aquatic species, as eggs and food sources would become buried. If an aggregate operation fails to meet their permit requirements, they face steep fines. This project seeks to derive accurate flow models from UAS sourced data, in order to assess the drainage paths of water from an active aggregate operation.

When modeling surface water flow with a Digital Surface Model (DSM), vegetation can spuriously alter the direction, greatly reducing the accuracy of the results. In order to increase the accuracy of the flow models, vegetation will be removed using object-based Random-Forest classification and Esri point cloud tools.

Methods:

The imagery was captured using the Sentek GEMS sensor on May 2nd, 2016, and was recorded as an RGB and a single-band NIR jpeg images. The images were processed in the Sentek GEMS software, and were then aligned using Esri's 'image stack' tool. Next, the stacked images were imported into Pix4D with RTK-recorded GCP points. I ran the images with the GCPs, and generated a densified point cloud, orthomosaic, and DSM.

I used Trimble eCognition to perform object based segmentation on the orthomosaic. The classified results were next brought into ArcMap, and converted to polygons. The vegetation polygons were then used to classify the point cloud using the 'Classify Las by Feature Tool'. A Digital Terrain Model (DTM) was then generated from the classified point cloud.

Next, the culvert locations were digitized and burned into the DTM, and the reservoirs were filled to their holding capacities. The flow was calculated with these simulated capacities, in order to see how the water would flow in this situation.

The flow was modeled in an iterative manner. First, the algorithm calculated the total fill amount for each sink to flow into another. Next, the average fill value was used to perform fill, flow direction, and flow accumulation tools. The flow accumulation tool was visualized using 1/4 standard deviation breaks, and the value of the smallest break was used to run the con tool - limiting the flow accumulation raster to only values greater than 350. The output of the con tool was used to create stream links and calculate stream order. The stream order was then converted into vector for display and interpretation.

Results:

The DSM generated by Pix4D was very smooth, but didn't represent the landscape realistically overall (Figure 1).
Figure 1: This is the DSM generated by Pix4d.
The object-based "Random Forest" classification did well at identifying the leafy vegetation in most circumstances, however, auto-exposure problems with the sensor caused some issues with identifying features in over and under-exposed areas of the flight (Figure 2).

Figure 2: Vegetation Classification.
Following the classification of the point cloud, a DTM was generated, and the results were less than perfect (Figure 3). The poor results were due to the vegetation classifier's inability to accurately classify woody vegetation, leaving much of it unclassified (Figure 4).

Figure 3: This DTM was generated from the classified point cloud.
Figure 4: The pink polygons are the areas classified as 'vegetation' on the orthomosaic. The polygons were used to classify
points into the 'vegetation' class. Unfortunately, the vegetation identified during the classification process only partially classified the actual vegetation.


Figure : In order to more accurately model the flow, the vegetation was completely removed, the culverts were burned
into the DTM, and the reservoirs were filled to their outflow elevation.


Sunday, April 17, 2016

Creation and Placement of Ground Control Points

Introduction:

When Pix4D performs bundle-block adjustment on aerial images, the horizontal and vertical accuracy are dependent on the on-board GPS. Dependence on the on-board GPS can cause distortion of the resulting products. By recording the positions of recognizable features within the study area, it is possible to rectify the bundle-block adjustment to the known points and thus reduce distortion. For these points to be effective, the image analyst needs to be able to identify the exact location of the control point.

Methods:

The Litchfield mine site has been used for several of the previous labs, so it seemed prudent to place permanent GCP markers around the location, to ensure the accuracy of future flights. The markers were constructed of black plastic, commonly used to make the 'boards' surrounding hockey rinks. The plastic is flexible and weatherproof, so they should survive the elements, as well as any vehicles running them over. The GCP markers were spray painted with bright yellow spray paint, so a large 'X' is visible in the center of the marker. This 'X' will allow the analyst to precisely identify the point later when performing bundle block adjustment. After marking the 'X' on all of the markers, they were each labeled with individual letters of the alphabet, so they may be more easily identified in the field during later data collection.

On April 11, 2016, we travelled to the Litchfield site, and placed the GCP markers around the site. Before placing the markers, we removed sticks and flattened the soil/rock-material to ensure they aren't moved by wind. All of the selected locations had good aerial visibility, and were outside of well-travelled areas. The markers were evenly placed throughout the mine area, with some around the edges and in the center.

Discussion:

The control points also need to be recorded at a higher level of accuracy than the GPS on the imaging platform, otherwise they may actually decrease the accuracy of the resulting imagery. The markers were placed outside of well-travelled areas so they wouldn't interfere with mine operations, and to reduce the chance they will be buried, destroyed, or moved by mine equipment or material. It was important that all of the marker locations had high aerial visibility, because markers with poor aerial visibility would only be accurately identifiable in some of the images, reducing the effectiveness of the bundle-block adjustment. The spacing of the GCPs was extremely important, as they increase the accuracy of imagery between them, and can cause distortion if the density of them differs within the study area.

Conclusion:

GCP marking has been one of the most discussed topics within the UAS community as of late, and this exercise provided good insight into GCP installation and creation. The placing of GCP markers is the most time-consuming portion of the data collection process, so by installing permanent markers, it will allow future flights to be performed more quickly without having to sacrifice positional accuracy.

Sunday, April 10, 2016

Creating Hydro Flow Models from UAS collected imagery by means of advanced point cloud classification methods.

Introduction:

UAS imagery can be used to generate point clouds in a '.las' format, similar to LiDAR data. However, point clouds generated from UAS imagery require a substantially different processing workflow than their LiDAR collected contemporaries. All of the non-ground points should be removed, before flow models can be created from a point cloud. This paper will describe one method for performing this critical step. An orthomosaic and DSM can be useful for specific industries, but by classifying the point cloud and generating a DTM, substantially more value can be added to the data. The DTM surfaces can potentially be used to model runoff, in order to prevent erosion on construction sites or mine operations. If multiple flights of the same area were performed monthly, the classified orthomosaics could be used to perform post-classification land use/land cover (LULC) change detection. Post-classification LULC change detection would allow mine reclamation personnel precise information regarding the progress of the reclamation process, specifically how much land changed from one LULC class to another.

Study Area:

The UAS images were captured of the Litchfield gravel pit on March 13, 2016 between 11:30AM and 2:00PM. The day was overcast, eliminating defined shadows and reducing the overall contrast in the captured images. The imagery used for point cloud generation was flown at 200ft, with 12 megapixel images. The images were captured using a Sony A6000, with a Voightgander 15mm lens at f/5.6 (Figure 1).

Figure 1: The Sony A6000


Methods:

1. The first processing step is to import the imagery, geolocation information, and camera specifications into Pix4D as a new project. The processing should be calibrated to produce a densified point cloud, as well as an orthomosaic.
2. Next, object based classification will be performed on the orthomosaic, using the Trimble eCognition software.
3. The classified output will be converted to a shapefile, using Esri ArcGIS.
4. ArcGIS will be used to reclassify the densified point cloud by using the 'Classify Las by Feature' tool and the shapefiles created in the previous step.
5. The 'Make Las Feature Layer' and 'Las dataset to Raster' tools will be used to create a DTM from only the ground points.
6. (optional) If the output DTM still contained some of the low vegetation, the 'Curvature', 'Reclassify', 'Raster to polygon', and 'Classify Las by Feature' tools will be used to identify and reclassify any remaining low vegetation points.

7. The ArcGIS Spatial Analyst toolbox will be used to perform runoff modeling

Discussion:

The imagery was collected without GCPs, however, previous imagery was collected with GCPs so it was possible to use the image-to-image rectification process to add GCPs to the image - increasing its overall spatial accuracy.

LiDAR sensors also record pulse intensity, which allows the analyst to more easily differentiate between different types of land cover for a given point, however as the UAS collected data using passive remote sensing techniques, this is not possible.

Conclusion:

The classification accuracy could be even further improved by capturing the imagery with a multi-spectral sensor.

Wednesday, March 16, 2016

Processing Thermal Imagery

Introduction:

The definition of light that comes to the minds of most people is typically only limited to the visible spectrum. However, using thermal sensors, it is possible to record heat emitted as light. Thermal imagery has numerous applications, including locating of poorly insulated areas on rooftops, and mineral identification. By using a thermal sensor, your data capturing capabilities truly enter a whole new world (Figure 1).

Figure 1: An average reaction upon realizing the capabilities of thermal UAS imagery.

Methods:

The thermal camera captures images using the Portable Network Graphics (PNG) lossless compression. PNG is a fantastic method for recording raster data, however, Pix4D doesn't allow for PNG files to be entered as inputs, so it was necessary to convert the images from PNG into the TIFF file format. After the images were converted they were processed using Pix4D, generating a DSM and an orthomosaic.

Results:

The thermal imagery facilitated the creation of temperature maps, which allowed for the identification of specific features (Figure 2). The imagery was captured in the afternoon, which allowed the ground and vegetation to warm up. Water has higher thermal inertia than ground and vegetation, so water-covered areas appear dark blue.

Figure 2: The output Mosaic of the thermal imagery.
Figure 3: The pond and stream are visible in dark blue in the center of the image.
As water flowed from the pond, it traveled through a concrete culvert below to a lower pond. The culvert caused the surface temperature to drop, and it is easily visible in the bottom center of figure 3. Note how the concrete on the southern end appears warmer because it had been in direct sun (Figures 3, 4).

Figure 4: The culvert from the NE. 


Conclusion:

There are numerous untapped possible uses for thermal imaging, and this has been only one of them. In the future, I will pursue these additional uses.

Tuesday, March 15, 2016

Obliques and Merge for 3D model Construction

Introduction:

All of the imagery processed for this class up to this point has been captured from Nadir (pointing straight at the ground). Imagery captured at nadir is fantastic for the creation of orthomosaics and DSMs, but does not create aesthetically appealing 3D models. For 3D model creation, imagery captured at nadir and at oblique angles need to be fused into the same project.

Methods:

First, I ran the initial processing on the farm nadir flight, as well as the initial processing for the barn oblique flight. Next, I merged the two projects in Pix4D and ran the initial processing. After the initial processing, I noticed the flights had a 3m vertical offset between them, so I created two manual tie points, which re-aligned them into the same vertical plane.

Results:

The merged point cloud showed considerably more detail than the nadir generated orthomosaic.

Figure 1: 


Conclusion:

Oblique imagery provides increased detail to 3D models, however, the increased detail isn't necessarily worth the increased processing time.

Saturday, March 5, 2016

Adding GCPs to Pix4D software

Introduction:

When Pix4D performs bundle-block adjustment on aerial images, the horizontal and vertical accuracy are dependent on the on-board GPS. Dependence on the on-board GPS can cause distortion of the resulting products. By recording the positions of features within the study area, it is possible to rectify the bundle-block adjustment to the known points and thus reduce distortion.

Methods:

In order to add GCPs to my project, I created a new project, imported my images, added their geolocation information, and had Pix4D use the default 3D maps preset. Next, I imported the GCPs using the "GCP/ Manual Tie Point Manager". After they were imported, I ran the project's initial processing. Once the initial processing was completed, I used the "GCP/ Manual Tie Point Manager" to identify the GCPs locations on the individual images. After the GCPs were identified, I ran the point cloud densification and orthomosaic generation steps.

After the orthomosaic and DSM were generated for the first project, I created a second project using the same images and same parameters, without using GCPs. Once the second project's orthomosaic and DSM were generated, I brought the products of both projects into ArcGIS in order to see how their accuracy differed.

The first step was to digitize the GCPs locations on each output orthomosaic in two separate feature classes. Next, I used the "Add XY coordinates" tool to append each point's coordinates to its attribute table. I used the "Add Surface Information" tool to add the Z value for each point's location on its respective DSM to the attribute table. Once each the coordinates were added to each feature, I used the "Join" tool to combine the tables, then used the "Table to Excel" tool to export the combined table (Table 1). Next, I opened the table in Excel, where I calculated RMSE and the average 3-D distance between the two points (Tables 2,3).

Results:
Table 1: The output from the Table to Excel tool.
Table 2: The distance between the GCP locations on the images generated
with and without the use of GCPs
Table 3: The total 3-Dimensional distance between the locations in table 1.
Table 4: The horizontal RMSE, vertical RMSE, and average value for table 3.

The error between the two surfaces was rather minor, yet noticeable in certain parts of the images. The horizontal RMSE was 1.406 cm, slightly less than its pixel size of 1.666cm (Table 4). The vertical RMSE was substantially higher, at 18.78cm.
Image 1: The locations of the GCPs throughout Litchfield Mine.

The images appeared identical at first, but closer inspection revealed discrepancies between the two (Image 2).

Image 2: Notice the discrepancy between the two images 1/3rd from the top of the image. 
Vertical error in the DSM increased as the distance from GCPs increased (Image 3).
Image 3: Elevation error and GCP locations.

At first I believed this increase in error was caused by the distance, but upon further inspection it seems the error is related to the type of feature (Image 4).

Image 4: Elevation error and feature type.

Conclusion:

The RMSE calculations indicated Pix4D's mosaics generated without GCPs have horizontal error less than the pixel size. This will be very useful for helping determine when GCPs are necessary in the future. The high vertical RMSE from the Non-GCP imagery, indicates that GCPs are truly important when recording elevation.